Configure Event Locations
An event location is the location where the event is to take place. For example, if you are managing a calendar for a university’s athletic events, you could set up a list of possible locations for the event, such as the stadium, the field house, the sports arena, the gymnasium, and so on. When you set up a location in Master Calendar, you can also provide a hyperlink for the location. For example, if you are managing a university’s athletic calendar, and you add the football stadium as a location, you can include a URL for a webpage showing a map of the stadium. The Location field for an event can be optional or required, depending upon your Master Calendar parameter settings. This topic guides you in setting up new event locations, activating and de-activating event locations, editing event locations, and deleting event locations.
Create a New Event Location
-
From the Admin Panel, navigate to Admin > Configuration > Locations.
The Locations page opens on the Active tab, which lists all currently active event locations in Master Calendar.
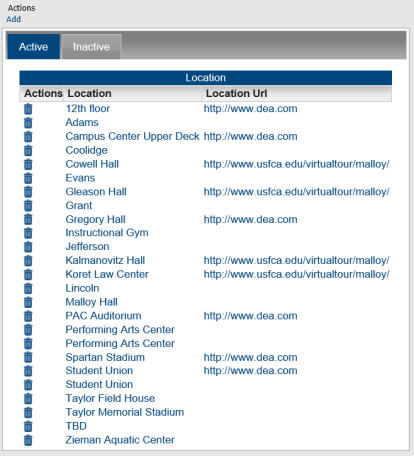
-
Under Actions, click Add.
The Location dialog opens, where you name the event location, provide a hyperlink, address, hours, or phone information. Users can select this new location on the Submit Events page > Location.
- In Name, enter a name or description for the event location.
- In URL, enter a URL (optional).
- Enter the Address of the event location (optional). Click the Geocode button to autopopulate the latitude and longitude of your address on the field below.
- Enter the Latitude and Longitude of the event location (optional).
- Enter the Hours of operation for the event location (optional).
- Enter a Phone number for the event location (optional).
- To make the location Active, click the checkbox.
- Click Save. The event location is added as an active location in Master Calendar.
Edit Existing Event Locations
-
From the Admin Panel, navigate to Admin > Configuration > Locations.
The Locations page opens on the Active tab, which lists all currently active event locations in Master Calendar.
- To activate/de-activate locations, choose from the Active or Inactive tab.
- Click on the event location that you want to activate or de-activate.
- Use the Active checkbox to control whether the Location is available to users for selection when booking an event.
Click Save. Your changes will be applied immediately. Activated Locations will appear for selection in the dropdown next to the Location field on the Submit Events page, and deactivated Locations will not.
-
You can also edit the Name, URL, Address, Latitutde, Longitude, Hours, and Phone from this screen. Make the edits and click Save.
Delete an Existing Event Location
- From the Admin Panel, navigate to Admin > Configuration > Locations. The Locations page opens on the Active tab, which lists all currently active event locations in Master Calendar.
- Locate the event location you want to delete on either the Active or Inactive tab.
-
Click the Delete icon next to the Location you want to delete.
If any sub-locations reference the selected location, a dialog launches indicating the number of sub-locations that reference it. You must first delete these sub-locations before you can delete the location. To delete these sub-locations, navigate to Admin > Sub-locations. EMS Software recommends reviewing and editing your sub-locations first.
-
If no sub-locations reference the selected location, a message prompts you to confirm that you want to delete the selected location.
If you delete an active event location, any current events that use this location are not affected. The deletion simply means that going forward, the location is not available for use. You can delete only one location at a time.
- Click OK. A message opens confirming the deletion.
- Click OK in the message. The list of locations is updated to reflect the deletion of the event location.